in: Sage 300 ERP, Sage 300 ERP Tips and Tricks, Company News
For inventory, it is sometimes necessary to set up contract codes. In this tutorial, we will learn how to add these codes.
Sage 300 Inventory Control
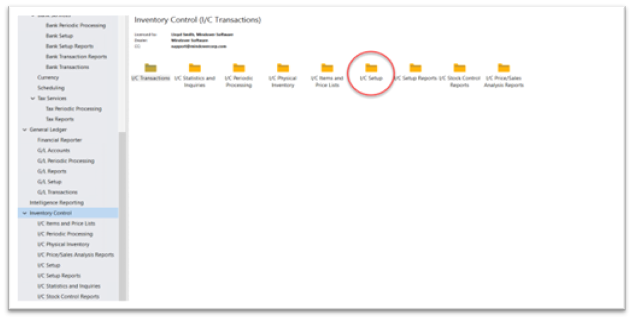
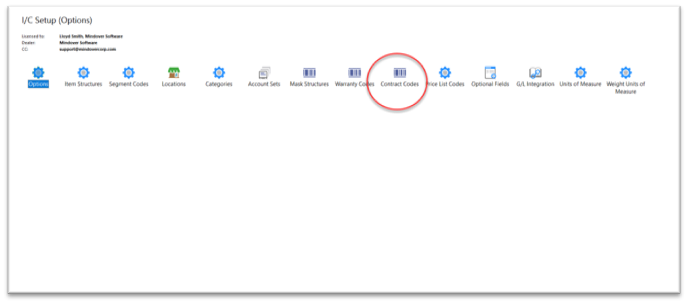
Start Sage 300 and navigate to Inventory Control → I/C Setup → Contract Codes.
In the Contract Code screen, enter a new contract code of choice, using no more than six characters. Then, in the next field add a description. Next, hit the Tab key.
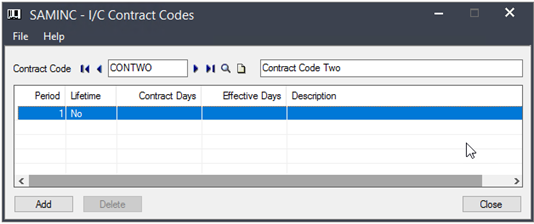
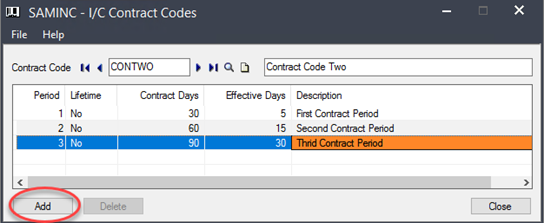
In the table, add the necessary information for each line by clicking in the field. Up to five periods may be added per code set. Starting with the Period, enter information and tab over to the next line. The first period auto populated once the Tab key was pressed. For subsequent periods, hit the Insert key to add a new line.
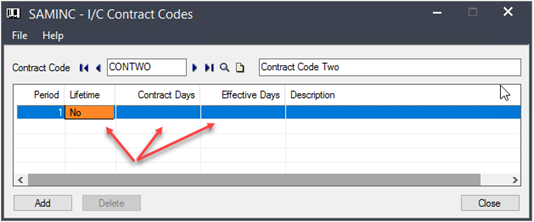
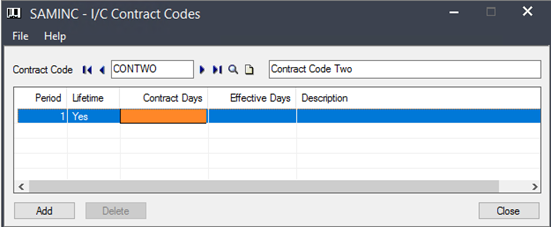
Enter the number of contract days for this period. If the period is for a lifetime contract, change this field to Yes. Note: When the Lifetime field is set to Yes, the Contract Days field is not available.
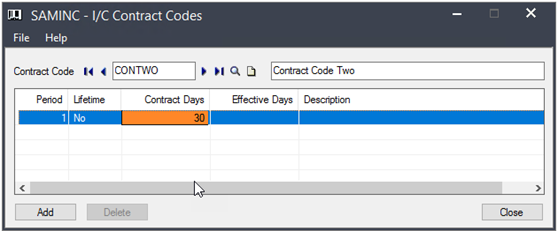
Next, enter the number of days until the contract period becomes effective (Effective Days) after the sold date.
For example: If Effective Days = 30 (thirty), the start date of the contract period is 30 days after the sold date.
If Effective Days = 0 (zero), the start date of the contract period is the sold date.
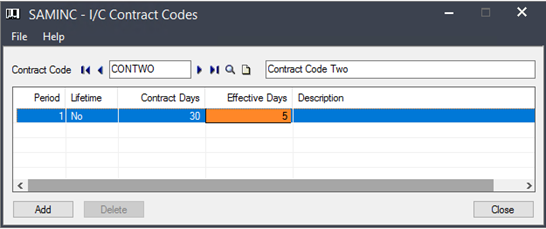
Finally, enter a short description of the contract period and click Add (or Save, if making changes to an existing record). Note: to delete a period, highlight select the line, hit the Delete key.
